> ## Documentation Index
> Fetch the complete documentation index at: https://sequinstream.com/docs/llms.txt
> Use this file to discover all available pages before exploring further.
# Get started with AWS SQS
> Stream Postgres changes to an SQS queue in minutes. Build real-time data pipelines with SQS and Postgres change data capture (CDC).
In this quickstart, you'll create a real-time data pipeline that streams changes from a Postgres database to an Amazon SQS queue. You'll:
* Boot Sequin
* Connect to a sample playground database
* Configure an SQS queue to receive database changes
* See your changes flow in real-time
By the end, you'll have hands-on experience setting up Postgres change data capture (CDC) with Sequin and SQS.
This is the quickstart for streaming Postgres to SQS. See the [how-to guide](/how-to/stream-postgres-to-sqs) for an explanation of how to use the SQS sink or the [reference](/reference/sinks/sqs) for details on all configuration options.
## Prerequisites
* An AWS account with an SQS queue
* IAM credentials with SQS access
For this quickstart, you can use an existing IAM user with broad SQS permissions. For production use cases, we recommend creating a dedicated IAM user for Sequin with the following policy:
```json theme={null}
{
"Version": "2012-10-17",
"Statement": [
{
"Effect": "Allow",
"Action": [
"sqs:SendMessage",
"sqs:SendMessageBatch",
"sqs:GetQueueAttributes",
"sqs:GetQueueUrl",
"sqs:ListQueues",
"sqs:ListQueueTags",
"sqs:ChangeMessageVisibility"
],
"Resource": ""
}
]
}
```
Replace `` with your queue's ARN (e.g., `arn:aws:sqs:us-east-1:123456789012:my-queue`).
The easiest way to get started with Sequin is with our [Docker Compose file](https://github.com/sequinstream/sequin/blob/main/docker/docker-compose.yaml). This file starts a Postgres database, Redis instance, and Sequin server.
1. Download [sequin-docker-compose.zip](https://github.com/sequinstream/sequin/releases/latest/download/sequin-docker-compose.zip).
2. Unzip the file.
3. Navigate to the unzipped directory and start the services:
```bash theme={null}
cd sequin-docker-compose && docker compose up -d
```
```bash theme={null}
curl -L https://github.com/sequinstream/sequin/releases/latest/download/sequin-docker-compose.zip -o sequin-docker-compose.zip \
&& unzip sequin-docker-compose.zip && rm sequin-docker-compose.zip
cd sequin-docker-compose && docker compose up -d
```
```bash theme={null}
git clone git@github.com:sequinstream/sequin.git
cd sequin/docker
docker compose up -d
```
Check that Sequin is running using `docker ps`:
```bash theme={null}
docker ps
```
You should see output like the following:
```
CONTAINER ID IMAGE COMMAND CREATED STATUS PORTS NAMES
bd5c458cabde sequin/sequin:latest "/scripts/start_comm…" 11 seconds ago Up 9 seconds 4000/tcp, 0.0.0.0:7376->7376/tcp sequin-sequin-1
3bacd89765e7 grafana/grafana "/run.sh" 11 seconds ago Up 11 seconds 0.0.0.0:3000->3000/tcp sequin-sequin_grafana-1
3ad41319a66c postgres:16 "docker-entrypoint.s…" 11 seconds ago Up 11 seconds (healthy) 0.0.0.0:7377->5432/tcp sequin-sequin_postgres-1
6139a5fc4e80 redis:7 "docker-entrypoint.s…" 11 seconds ago Up 11 seconds 0.0.0.0:7378->6379/tcp sequin-sequin_redis-1
7e07a5b052de prom/prometheus "/bin/prometheus --c…" 11 seconds ago Up 11 seconds 0.0.0.0:9090->9090/tcp sequin-sequin_prometheus-1
```
Sequin, Postgres, Redis, Prometheus, and Grafana should be up and running (status: `Up`).
The Docker Compose file automatically configures Sequin with an admin user and a playground database.
Let's log in to the Sequin web console:
After starting the Docker Compose services, open the Sequin web console at [http://localhost:7376](http://localhost:7376):
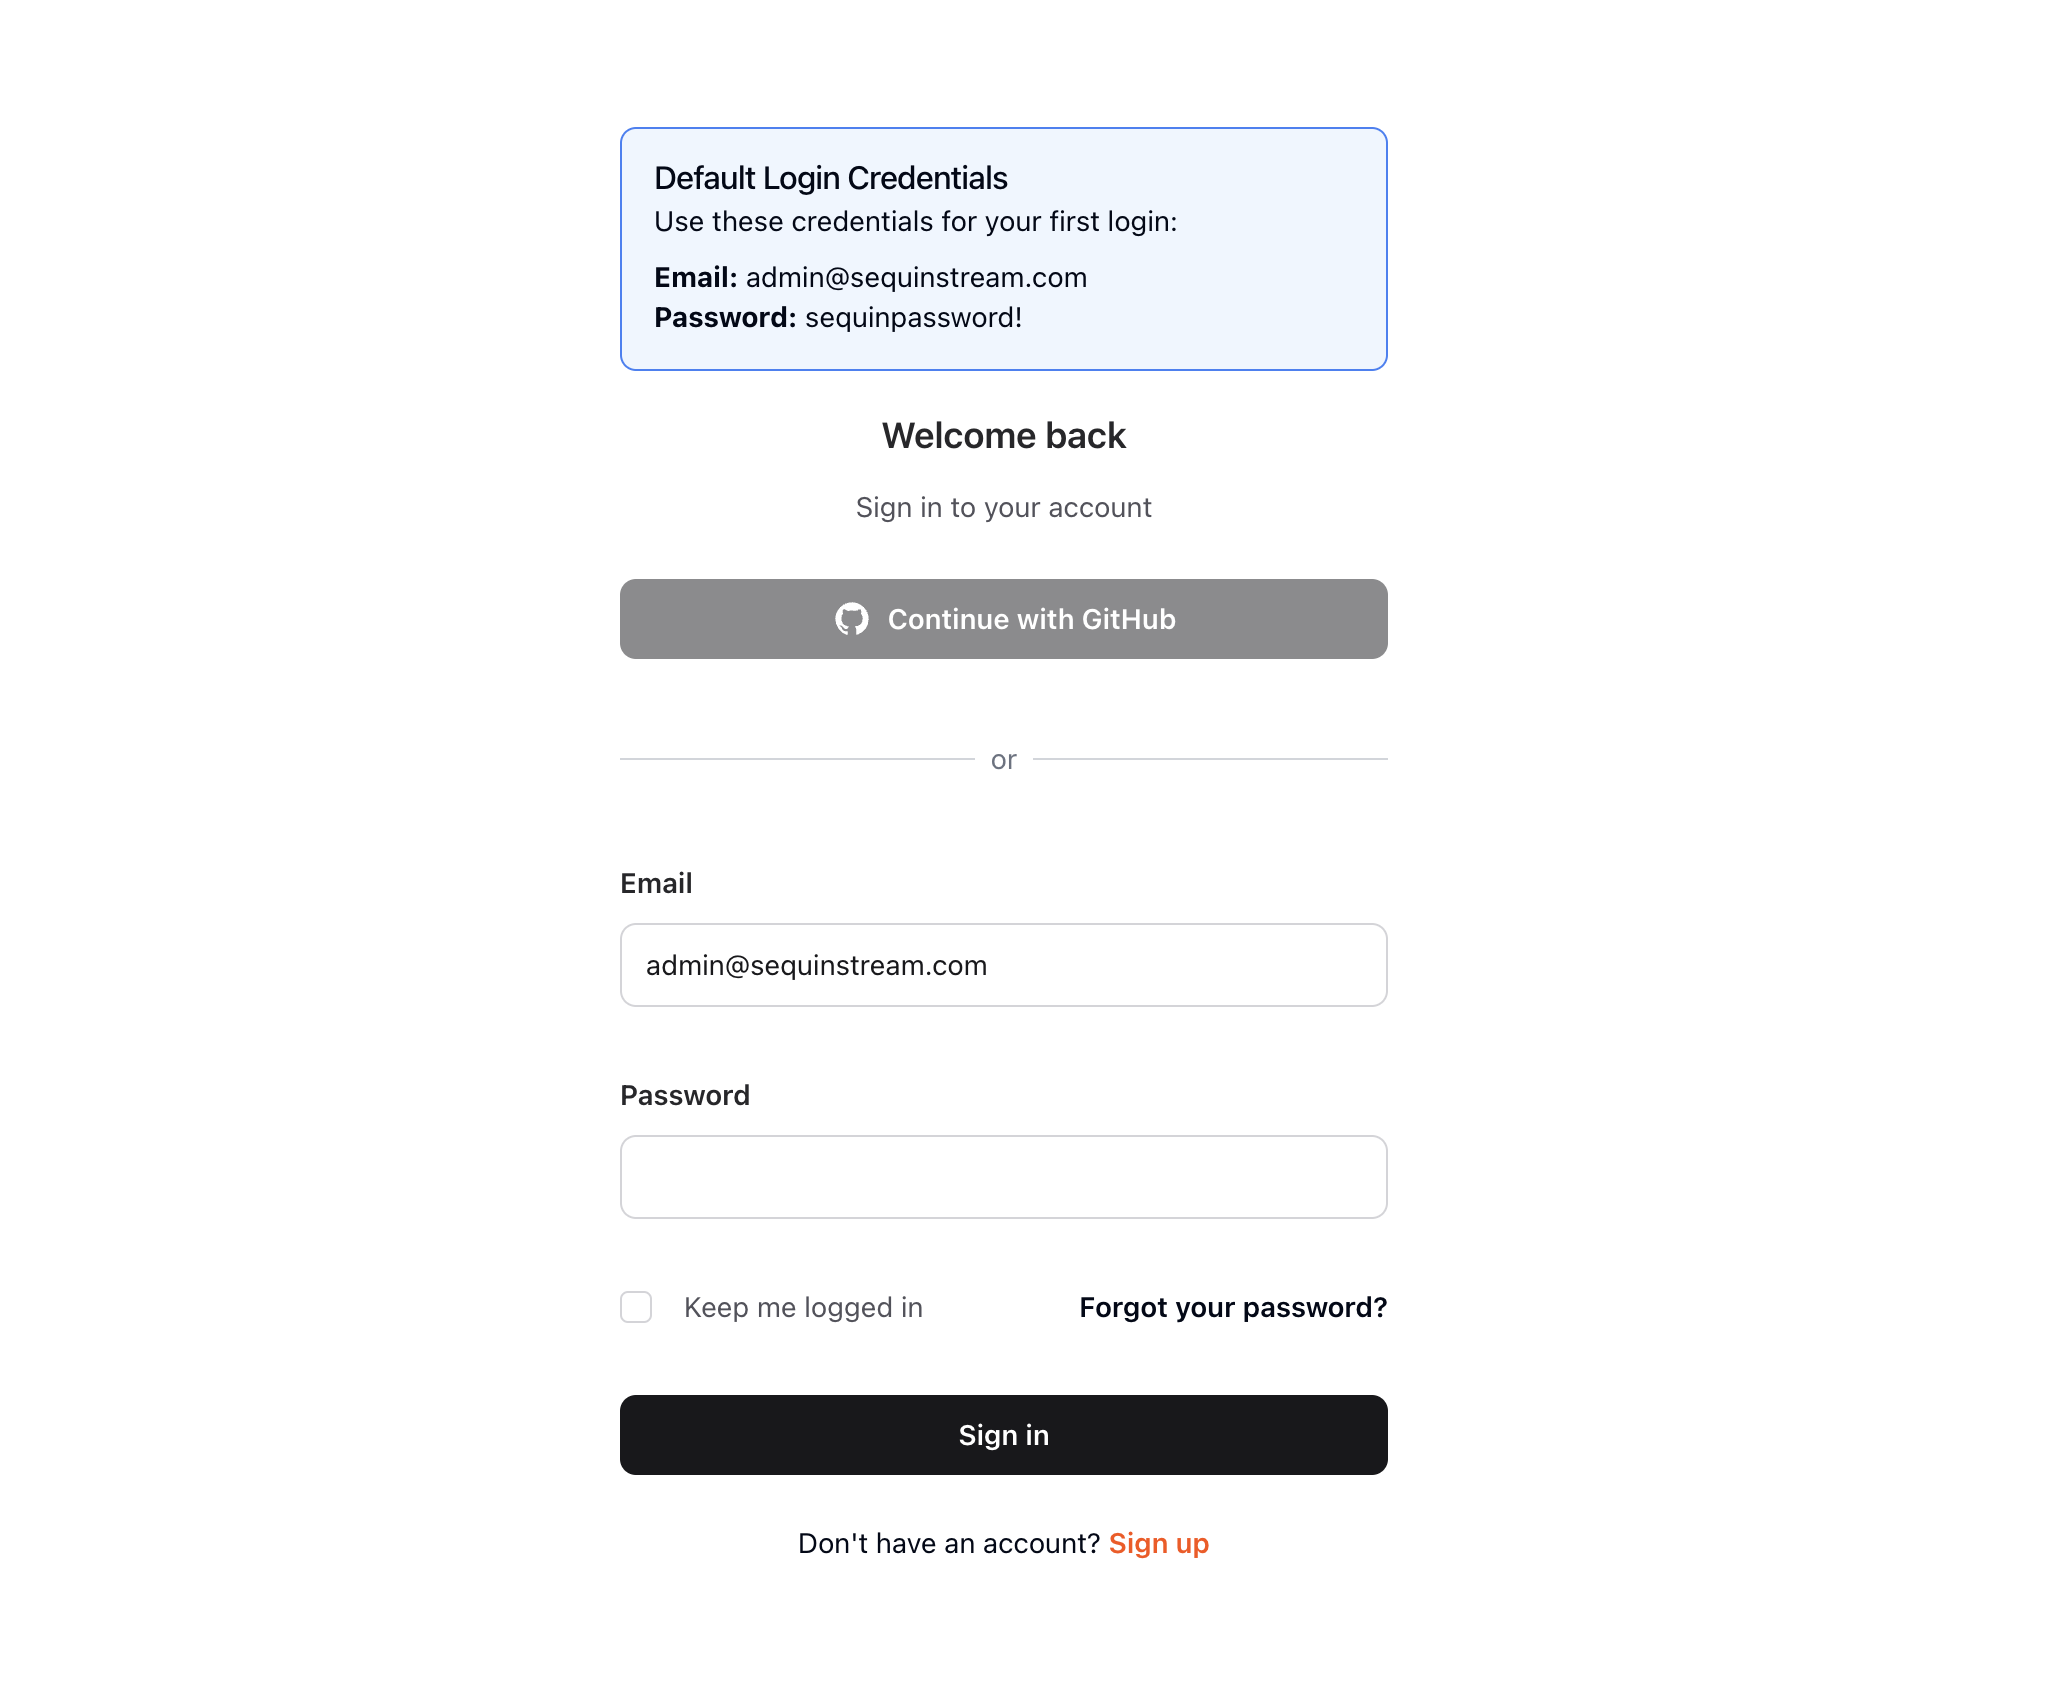 Use the following default credentials to login:
* Email:
```
admin@sequinstream.com
```
* Password:
```
sequinpassword!
```
To get you started quickly, Sequin's Docker Compose file creates a logical database called `sequin_playground` with a sample dataset in the `public.products` table.
Let's take a look:
In the Sequin web console, click **Databases** in the sidebar.
Click on the pre-configured `sequin-playground` database:
Use the following default credentials to login:
* Email:
```
admin@sequinstream.com
```
* Password:
```
sequinpassword!
```
To get you started quickly, Sequin's Docker Compose file creates a logical database called `sequin_playground` with a sample dataset in the `public.products` table.
Let's take a look:
In the Sequin web console, click **Databases** in the sidebar.
Click on the pre-configured `sequin-playground` database:
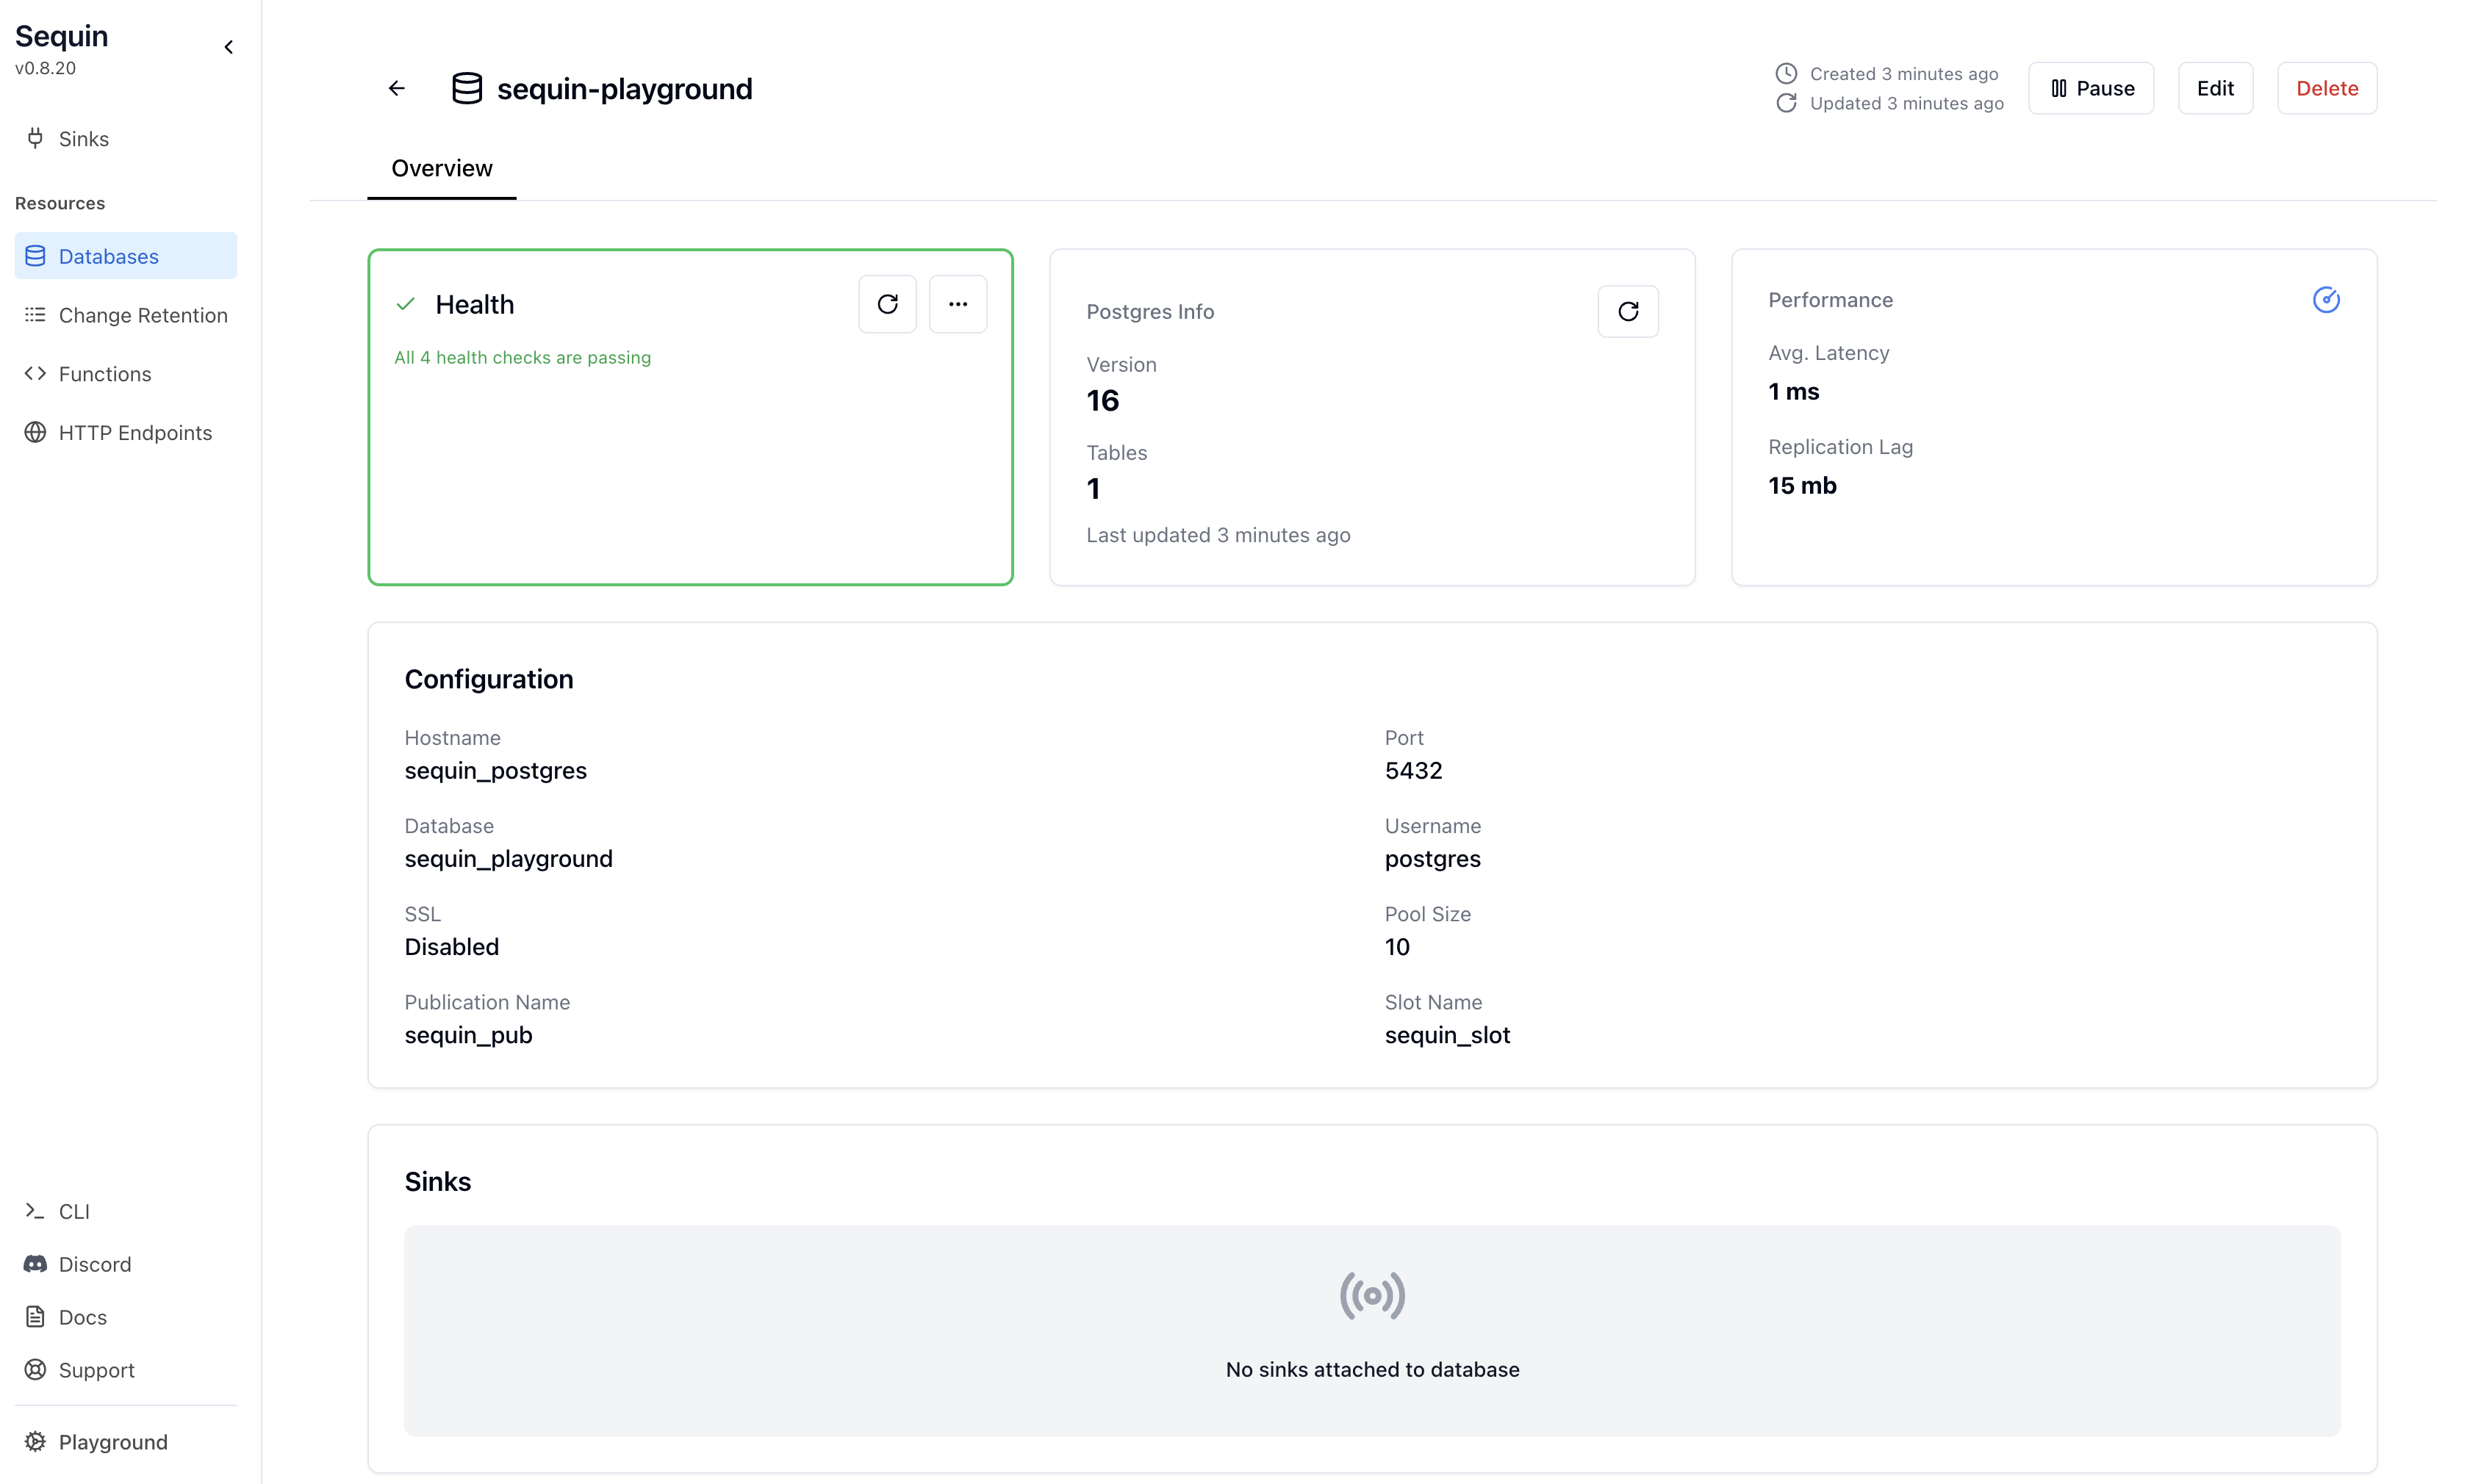 The database "Health" should be green.
Let's get a sense of what's in the `products` table. Run the following command:
```bash theme={null}
docker exec -i sequin-sequin_postgres-1 \
psql -U postgres -d sequin_playground -c \
"select id, name, price from products;"
```
This command connects to the running Postgres container and runs a `psql` command.
You should see a list of the rows in the `products` table:
```
id | name | price
----+-----------------------+-------
1 | Avocados (3 pack) | 5.99
2 | Flank Steak (1 lb) | 8.99
3 | Salmon Fillet (12 oz) | 14.99
4 | Baby Spinach (16 oz) | 4.99
5 | Sourdough Bread | 6.99
6 | Blueberries (6 oz) | 3.99
(6 rows)
```
We'll make modifications to this table in a bit.
With the playground database connected, you can create a [sink](/reference/sinks/overview). This sink will send changes to the `products` table to your SQS queue:
Click "Sinks" in the sidebar navigation, then click "Create Sink".
Select "Amazon SQS" as the sink type and click "Continue".
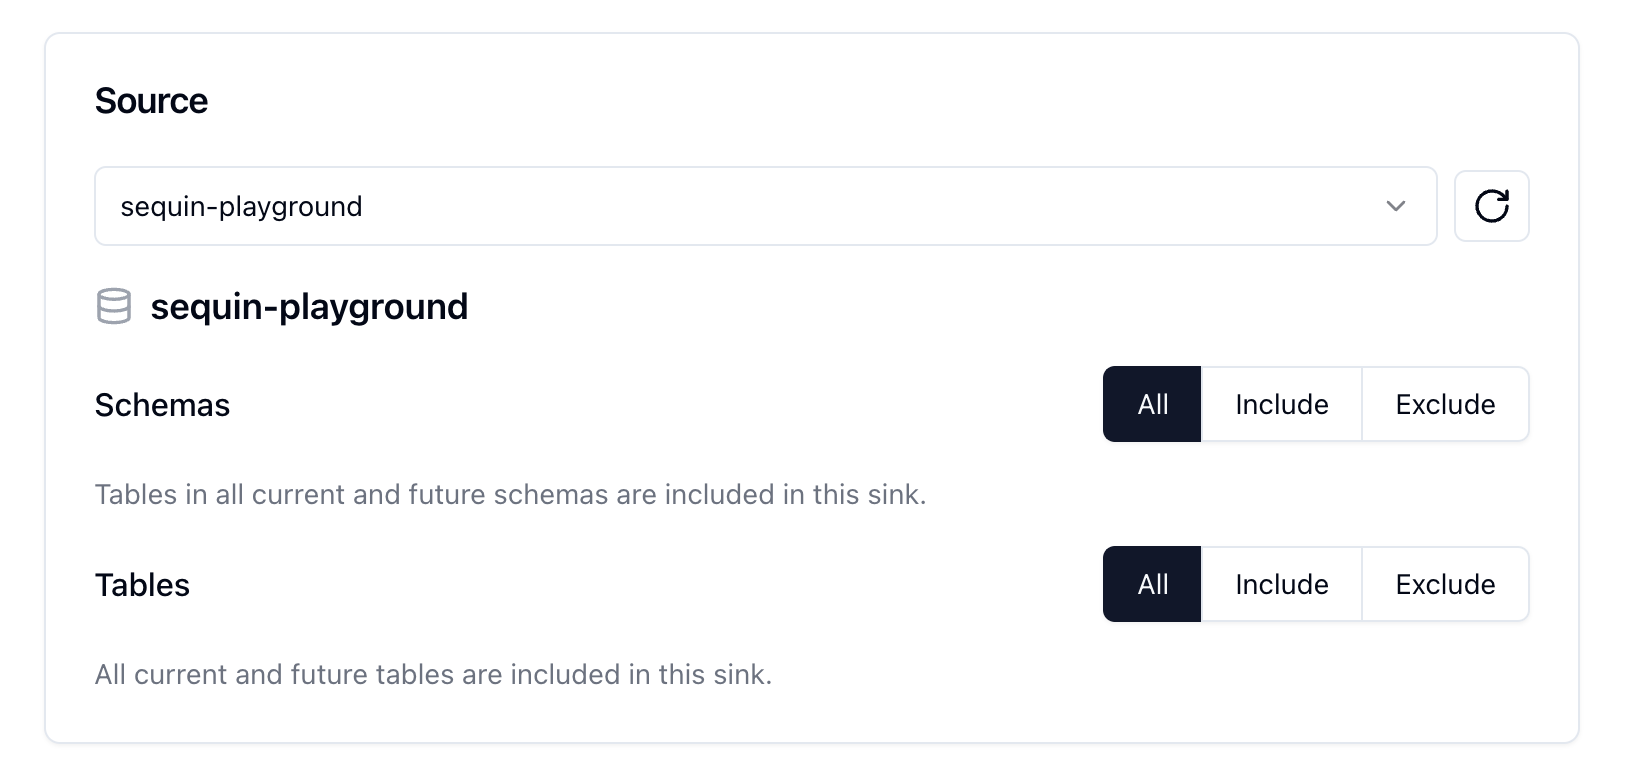
In the "Source" card, note that the `sequin-playground` database is selected and all schemas and tables are included. Leave these defaults:
The database "Health" should be green.
Let's get a sense of what's in the `products` table. Run the following command:
```bash theme={null}
docker exec -i sequin-sequin_postgres-1 \
psql -U postgres -d sequin_playground -c \
"select id, name, price from products;"
```
This command connects to the running Postgres container and runs a `psql` command.
You should see a list of the rows in the `products` table:
```
id | name | price
----+-----------------------+-------
1 | Avocados (3 pack) | 5.99
2 | Flank Steak (1 lb) | 8.99
3 | Salmon Fillet (12 oz) | 14.99
4 | Baby Spinach (16 oz) | 4.99
5 | Sourdough Bread | 6.99
6 | Blueberries (6 oz) | 3.99
(6 rows)
```
We'll make modifications to this table in a bit.
With the playground database connected, you can create a [sink](/reference/sinks/overview). This sink will send changes to the `products` table to your SQS queue:
Click "Sinks" in the sidebar navigation, then click "Create Sink".
Select "Amazon SQS" as the sink type and click "Continue".
In the "Source" card, note that the `sequin-playground` database is selected and all schemas and tables are included. Leave these defaults:
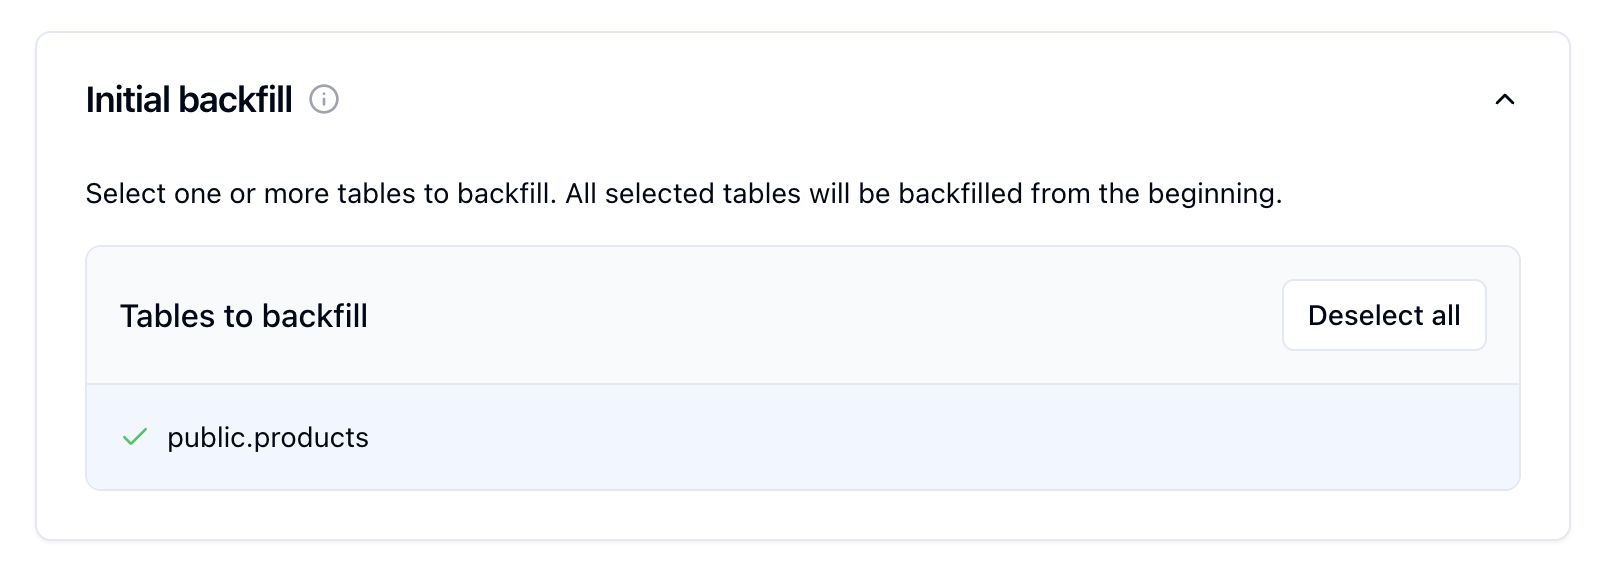
 In the `Inital backfill` card, select the `public.products` table to initate a backfill when the sink is created.
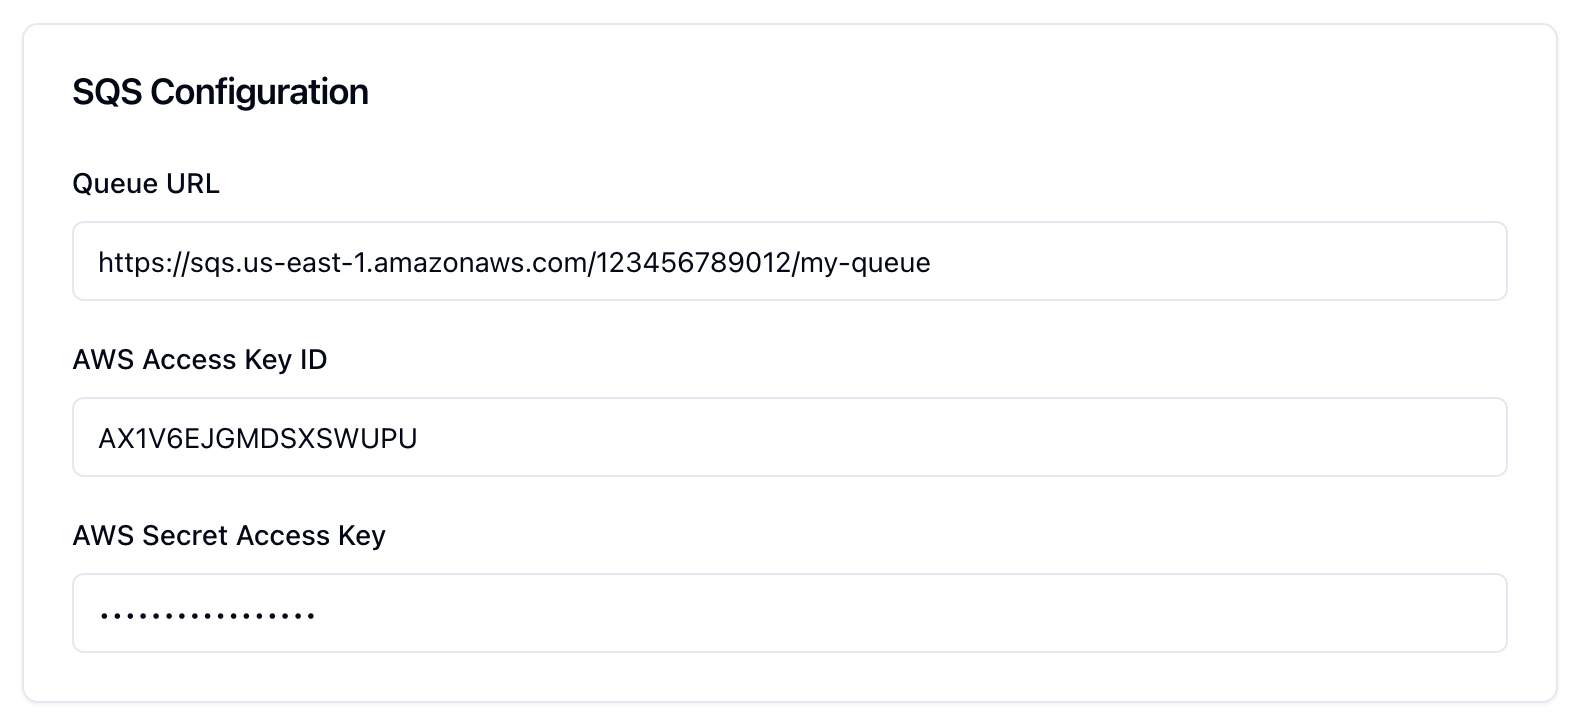
 In the "SQS Configuration" card, enter your queue details:
* Queue URL: The full URL of your SQS queue (e.g., `https://sqs.us-east-1.amazonaws.com/123456789012/my-queue`)
* AWS Access Key ID: [An AWS access key](#prerequisites) with SQS permissions
* AWS Secret Access Key: The corresponding AWS secret key
In the "SQS Configuration" card, enter your queue details:
* Queue URL: The full URL of your SQS queue (e.g., `https://sqs.us-east-1.amazonaws.com/123456789012/my-queue`)
* AWS Access Key ID: [An AWS access key](#prerequisites) with SQS permissions
* AWS Secret Access Key: The corresponding AWS secret key
 At the bottom of the form, click the "Test Connection" button. If you provided proper credentials, it should succeed.
Sequin can connect to your SQS queue.
You can leave the rest of the defaults. As configured, the SQS queue will first receive a backfill of all rows currently in the `products` table. Then, it will receive all changes to the `products` table in real-time.
Click "Create Sink" to finish setting up your SQS sink.
On the new sink's overview page, you should see the "Health" status turn green, indicating data is flowing to your SQS queue.
Let's confirm messages are flowing:
Click the "Messages" tab. You'll see a list of the recently delivered messages:
At the bottom of the form, click the "Test Connection" button. If you provided proper credentials, it should succeed.
Sequin can connect to your SQS queue.
You can leave the rest of the defaults. As configured, the SQS queue will first receive a backfill of all rows currently in the `products` table. Then, it will receive all changes to the `products` table in real-time.
Click "Create Sink" to finish setting up your SQS sink.
On the new sink's overview page, you should see the "Health" status turn green, indicating data is flowing to your SQS queue.
Let's confirm messages are flowing:
Click the "Messages" tab. You'll see a list of the recently delivered messages:
 Sequin indicates it backfilled the `products` table to your SQS queue.
Open the AWS Console and navigate to your SQS queue. Click "Send and receive messages" then "Poll for messages". You should see the messages have arrived from Sequin:
Sequin indicates it backfilled the `products` table to your SQS queue.
Open the AWS Console and navigate to your SQS queue. Click "Send and receive messages" then "Poll for messages". You should see the messages have arrived from Sequin:
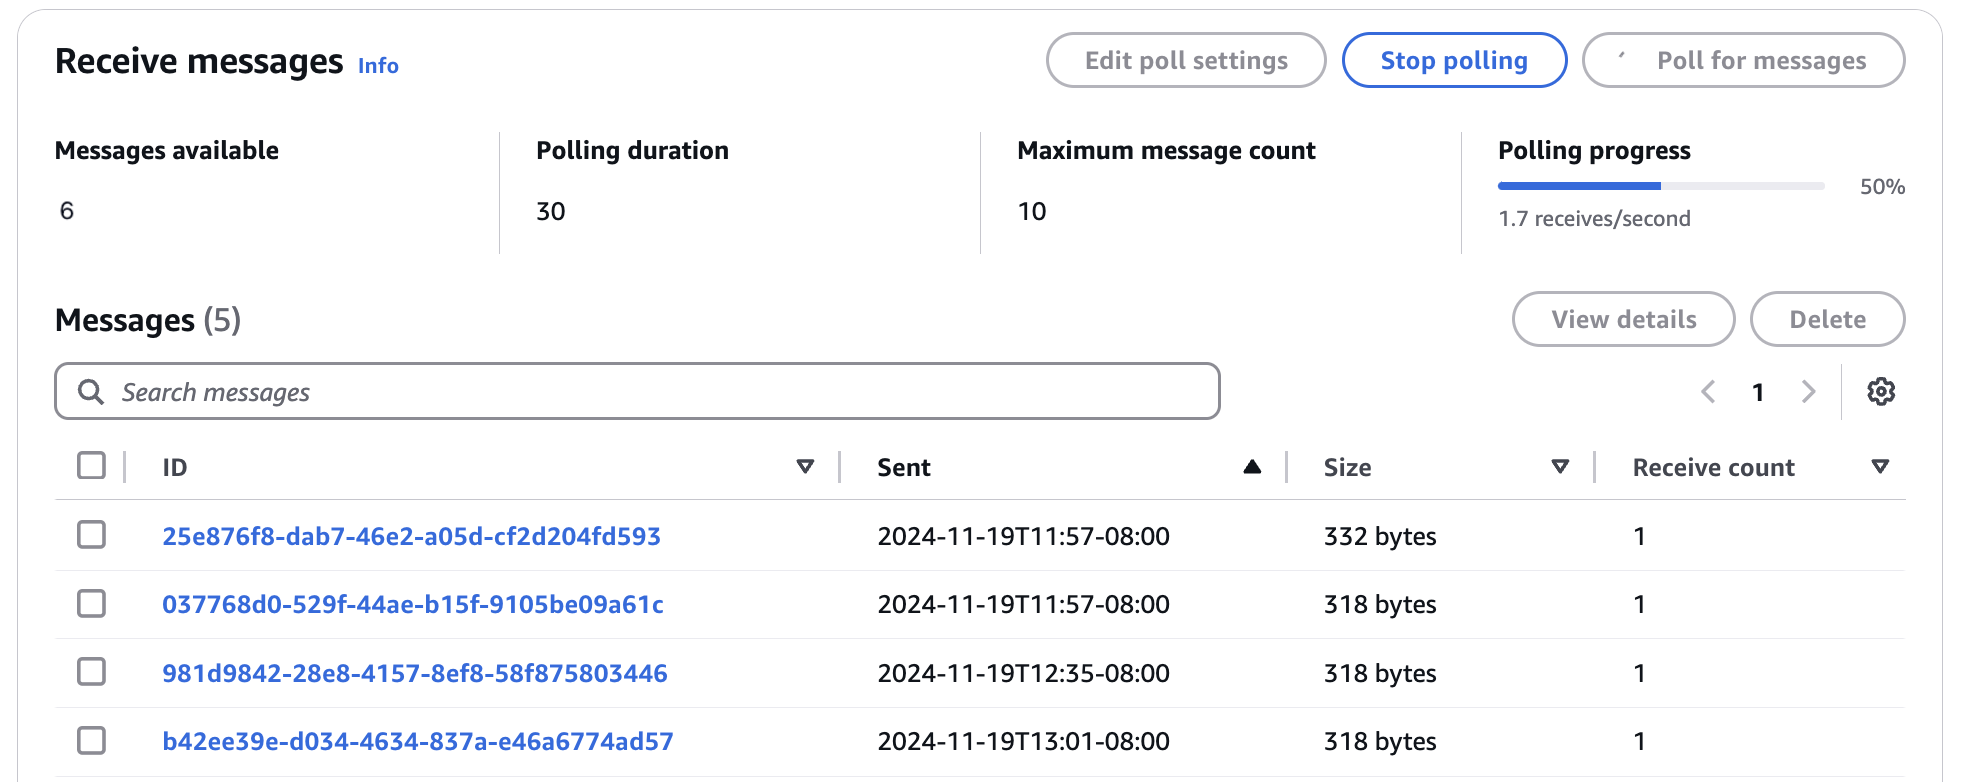 Click on a message to view its contents. The messages are [`read` events](/reference/messages) from the initial backfill of the `products` table.
Messages are flowing from Sequin to your SQS queue.
Let's make some changes to the `products` table and see them flow to your queue.
In your terminal, run the following command to insert a new row into the `products` table:
```bash theme={null}
docker exec -i sequin-sequin_postgres-1 \
psql -U postgres -d sequin_playground -c \
"insert into products (name, price) values ('Organic Honey (16 oz)', 12.99);"
```
In the "Poll for messages" widget in the SQS Console, you should see the new message appear.
Feel free to try other changes:
```bash theme={null}
docker exec -i sequin-sequin_postgres-1 \
psql -U postgres -d sequin_playground -c \
"update products set price = 7.99 where name = 'Avocados (3 pack)';"
```
```bash theme={null}
docker exec -i sequin-sequin_postgres-1 \
psql -U postgres -d sequin_playground -c \
"update products set name = 'Organic Avocados (3 pack)' where name = 'Avocados (3 pack)';"
```
```bash theme={null}
docker exec -i sequin-sequin_postgres-1 \
psql -U postgres -d sequin_playground -c \
"delete from products where name = 'Blueberries (6 oz)';"
```
Each change will appear in your SQS queue within a few seconds.
Great work!
You've successfully:
* Set up a complete Postgres change data capture pipeline
* Loaded existing data through a backfill
* Made changes to the `products` table
* Verified changes are flowing to your SQS queue
## Ready to stream
Now you're ready to connect your own database to Sequin and start streaming changes:
Connect your Postgres database to Sequin.
Setup an SQS sink to send changes to your queue.
Click on a message to view its contents. The messages are [`read` events](/reference/messages) from the initial backfill of the `products` table.
Messages are flowing from Sequin to your SQS queue.
Let's make some changes to the `products` table and see them flow to your queue.
In your terminal, run the following command to insert a new row into the `products` table:
```bash theme={null}
docker exec -i sequin-sequin_postgres-1 \
psql -U postgres -d sequin_playground -c \
"insert into products (name, price) values ('Organic Honey (16 oz)', 12.99);"
```
In the "Poll for messages" widget in the SQS Console, you should see the new message appear.
Feel free to try other changes:
```bash theme={null}
docker exec -i sequin-sequin_postgres-1 \
psql -U postgres -d sequin_playground -c \
"update products set price = 7.99 where name = 'Avocados (3 pack)';"
```
```bash theme={null}
docker exec -i sequin-sequin_postgres-1 \
psql -U postgres -d sequin_playground -c \
"update products set name = 'Organic Avocados (3 pack)' where name = 'Avocados (3 pack)';"
```
```bash theme={null}
docker exec -i sequin-sequin_postgres-1 \
psql -U postgres -d sequin_playground -c \
"delete from products where name = 'Blueberries (6 oz)';"
```
Each change will appear in your SQS queue within a few seconds.
Great work!
You've successfully:
* Set up a complete Postgres change data capture pipeline
* Loaded existing data through a backfill
* Made changes to the `products` table
* Verified changes are flowing to your SQS queue
## Ready to stream
Now you're ready to connect your own database to Sequin and start streaming changes:
Connect your Postgres database to Sequin.
Setup an SQS sink to send changes to your queue.